Adjusting icons and colours on the interactive map
With the interactive map, your guests can quickly and easily see what's on offer nearby. Using filters, visitors can choose the type of locations they want to see on the map. By using different icons for the various types of locations, you can see at a glance where the locations are located. If you also use colours per type of location, it becomes even clearer.
Did you know that on your interactive map, you can configure which icons are shown in the filter menu and on the map? Via the Content Management System (CMS), you can do this entirely yourself.
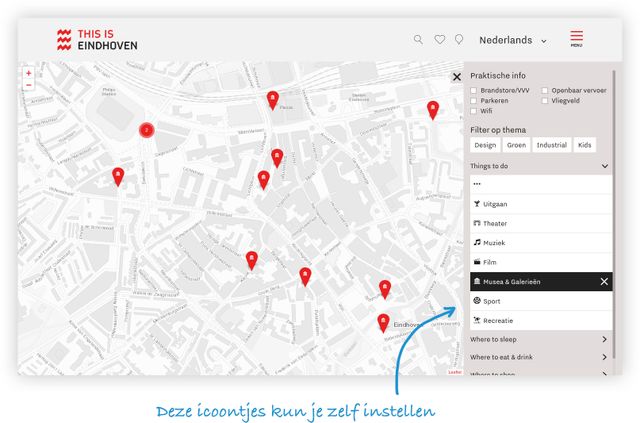
So you set your own icons and colours
In the CMS, go to Modules > ODP Categories
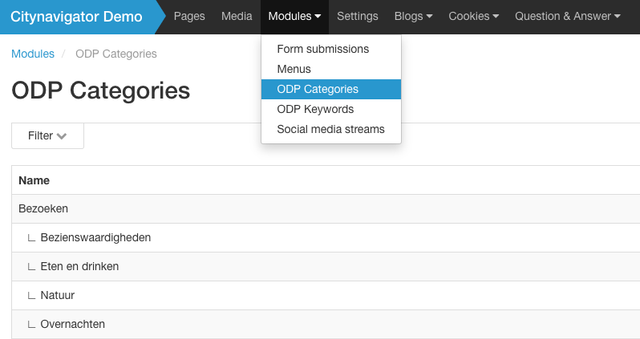
Here you can see all the categories available on the website. By editing a category, you can then set a few things:
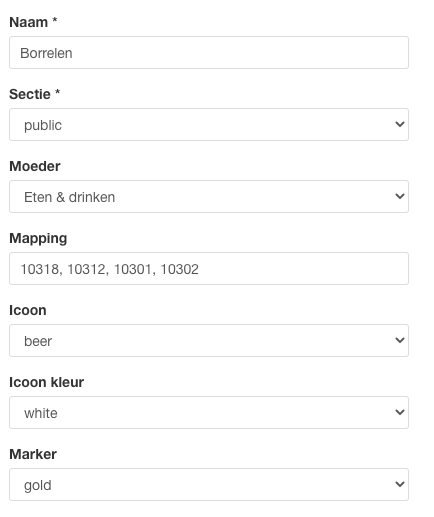
- Name
The name of the category. This is also displayed on the interactive map - Section
Where on the website does the category appear (the ‘public’ category is used for the interactive map) - Parent
Create main and sub-categories - Mapping
Which categories from the Open Data Platform should this category be linked to? You can therefore group several categories into a single category. - Icon
Select the icon you wish to use for the category - Icon colour
Choose the colour of the icon (black or white) - Marker
Choose the colour of the marker/pin on the map
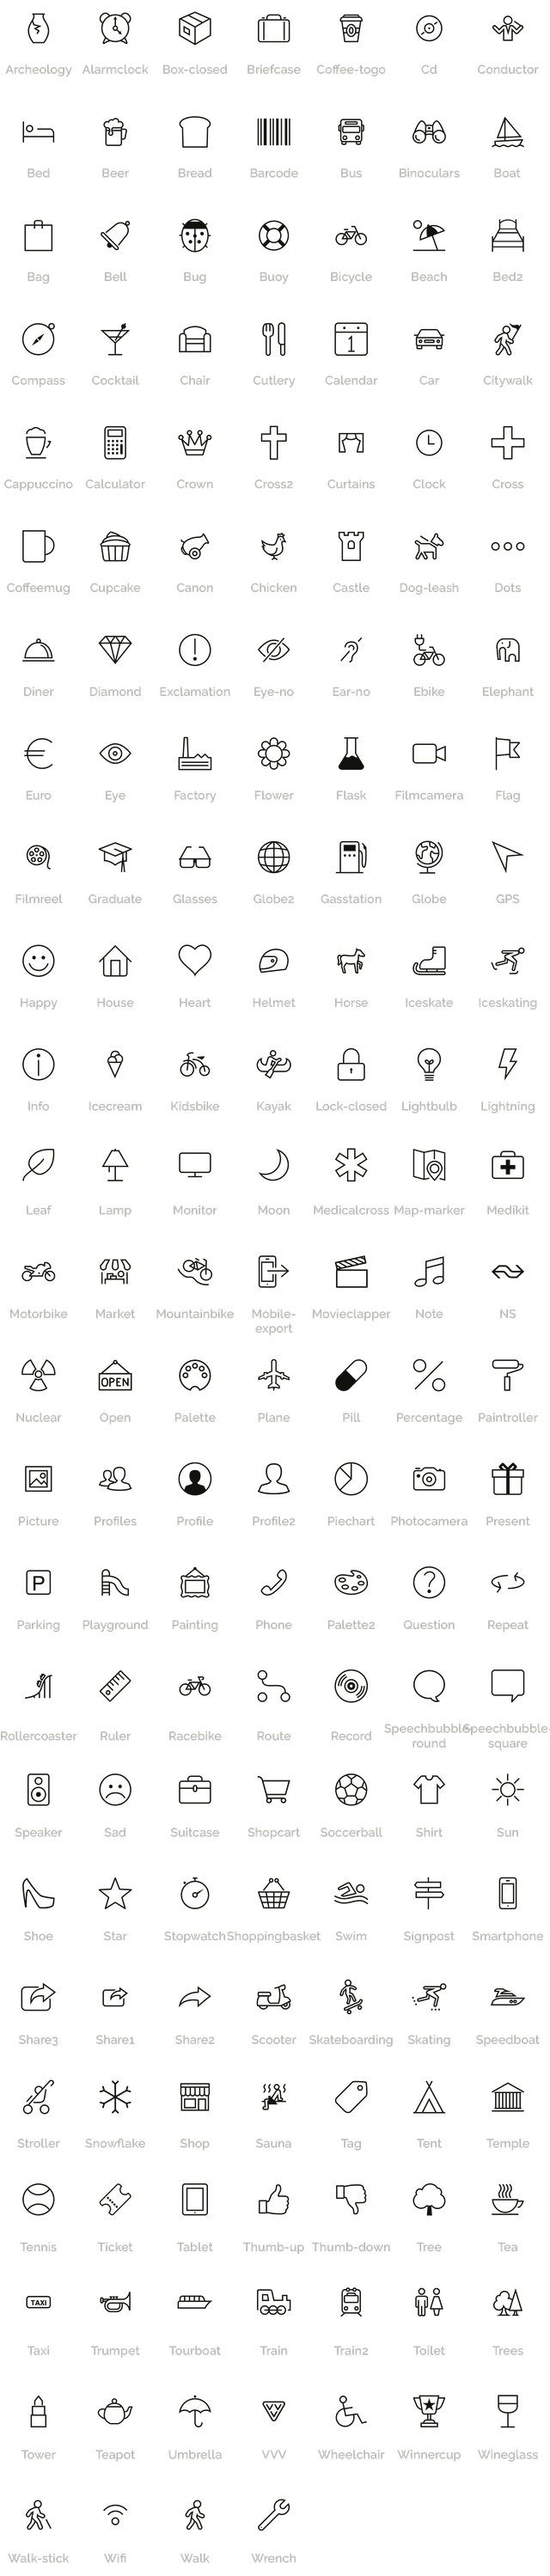
172 icons to choose from!
Choose from the list the icon that best fits your created category. We have made the following icons available to you by default.
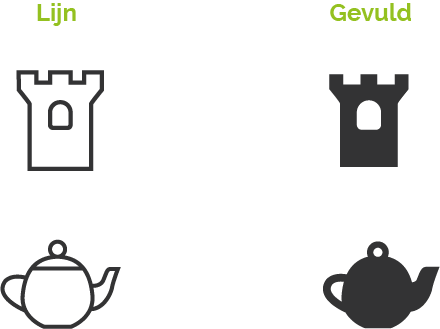
 To make the icons fit your website perfectly, we have a line version and a filled version.
Want a new/different icon? Let us know and we will add it! It is also possible to develop a unique set of icons within your corporate identity.
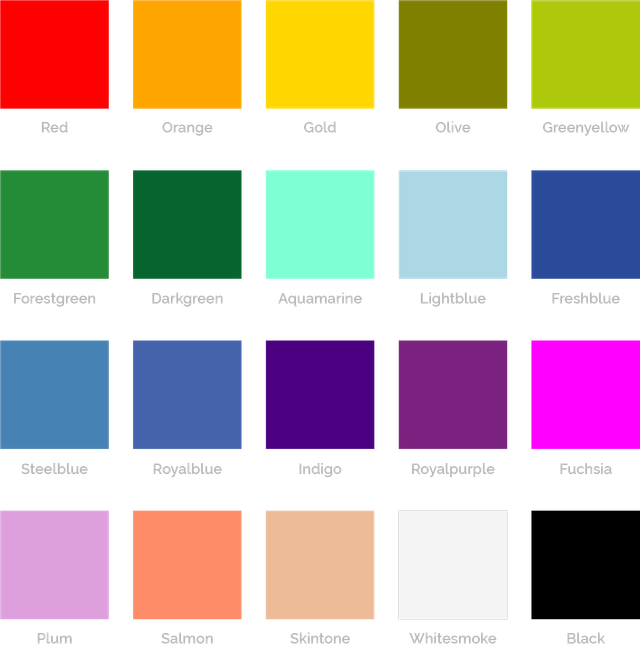
Choose your favourite colour
You can add your own colour to the drawing pins on the map. This allows you to distinguish the different types of locations on the map. We have made the following colours available to you: